
You love your home. You’ve put real thought into every corner, every cushion, every carefully chosen piece of decor. But when you take a photo and look at it on your phone, something feels off. The room looks flat, the colors are muddy, and the space you’ve spent months curating somehow looks forgettable. Learning to create social-worthy home interior photos, what professional photographers call “architectural interior photography,” is a skill you can absolutely build without expensive equipment or formal training. This guide walks you through every step, from preparing your space to sharing your final shots online.
Table of Contents
- Key takeaways
- How to create social-worthy home interior photos through smart prep
- Smartphone shooting techniques that actually work
- Post-shoot editing to polish your images
- Common pitfalls and how to fix them
- Sharing your photos for maximum impact
- My honest take on styling for the camera
- Transform your home into a photo-ready space
- FAQ
Key takeaways
| Point | Details |
|---|---|
| Light is everything | Shoot with natural daylight only to avoid color clashes and achieve warm, authentic images. |
| Camera height changes everything | Hold your camera at 3 to 4 feet to make rooms look more spacious and well-proportioned. |
| Edit with restraint | Use mobile apps to adjust brightness and correct perspective without over-processing your photos. |
| Consistent style builds a feed | Keep framing, color tones, and angles consistent across sessions for a cohesive social media presence. |
| Virtual staging is affordable | AI staging tools cost a fraction of traditional staging, giving any room a polished, share-ready look. |
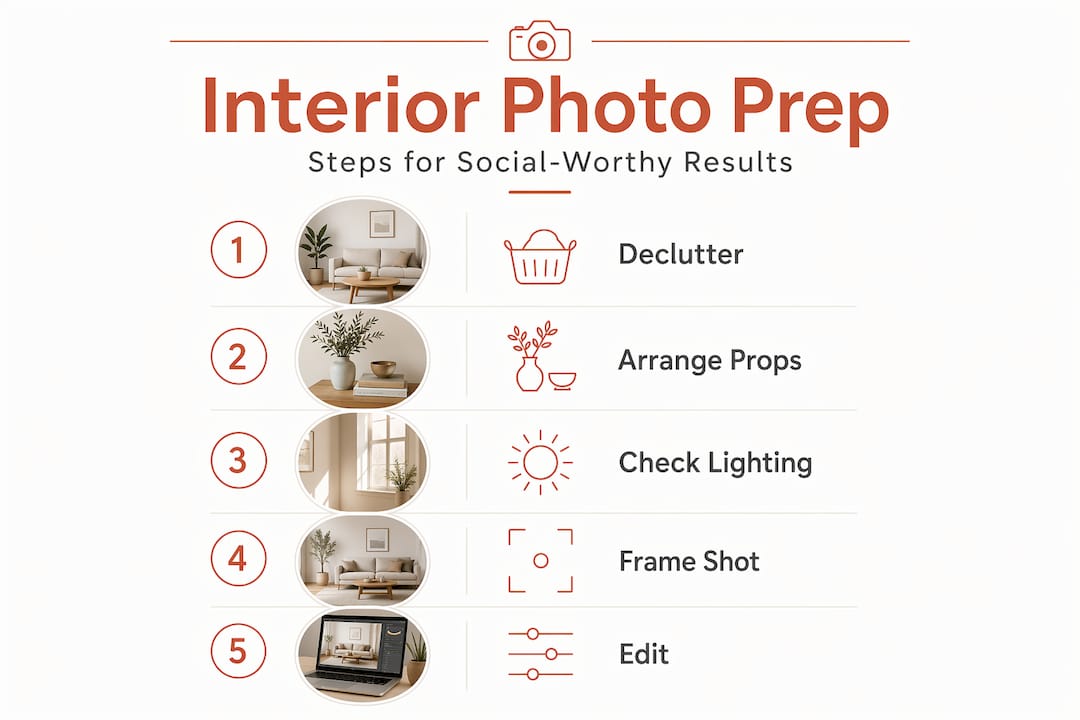
How to create social-worthy home interior photos through smart prep
Before you pick up your phone or camera, the single biggest factor in a great interior photo is what happens before you shoot. Preparation accounts for at least half the final result.
Declutter with intention. Clear surfaces of anything that doesn’t serve the scene. That means charging cables, random mail, and the seventeen throw pillows that aren’t adding anything. Think about what your eye naturally travels to in the room and make that the focal point. Curated gallery walls, for example, work far better in photos than scattered family pictures because they create visual order instead of noise.
Style thoughtfully, not obsessively. Add two or three decor pieces that complement the room’s color palette. A stack of books, a small plant, a textured throw. The goal is a space that looks lived in and intentional at the same time. Designing around daily living matters more than designing purely for the camera. When a space feels authentic, it reads that way in photos too.
Here is what to do in the hour before you shoot:
- Turn off all overhead and artificial lights to avoid mixed color temperatures
- Open blinds and curtains fully to maximize natural light
- Remove personal items that break the visual flow (remote controls, pet toys, shoes)
- Add one or two natural elements like flowers, greenery, or a bowl of fruit
- Check the background of each planned shot for distracting objects
Timing matters more than most people realize. Natural daylight photography produces warmer, more professional results than any artificial setup. Mid-morning light is often softer and more flattering than harsh midday sun, and golden hour before sunset creates a glow that makes any room look inviting.
Pro Tip: If your room has a mix of artificial and natural light, turning off the artificial lights and shooting purely in daylight will prevent the orange or green color casts that make photos look amateurish.
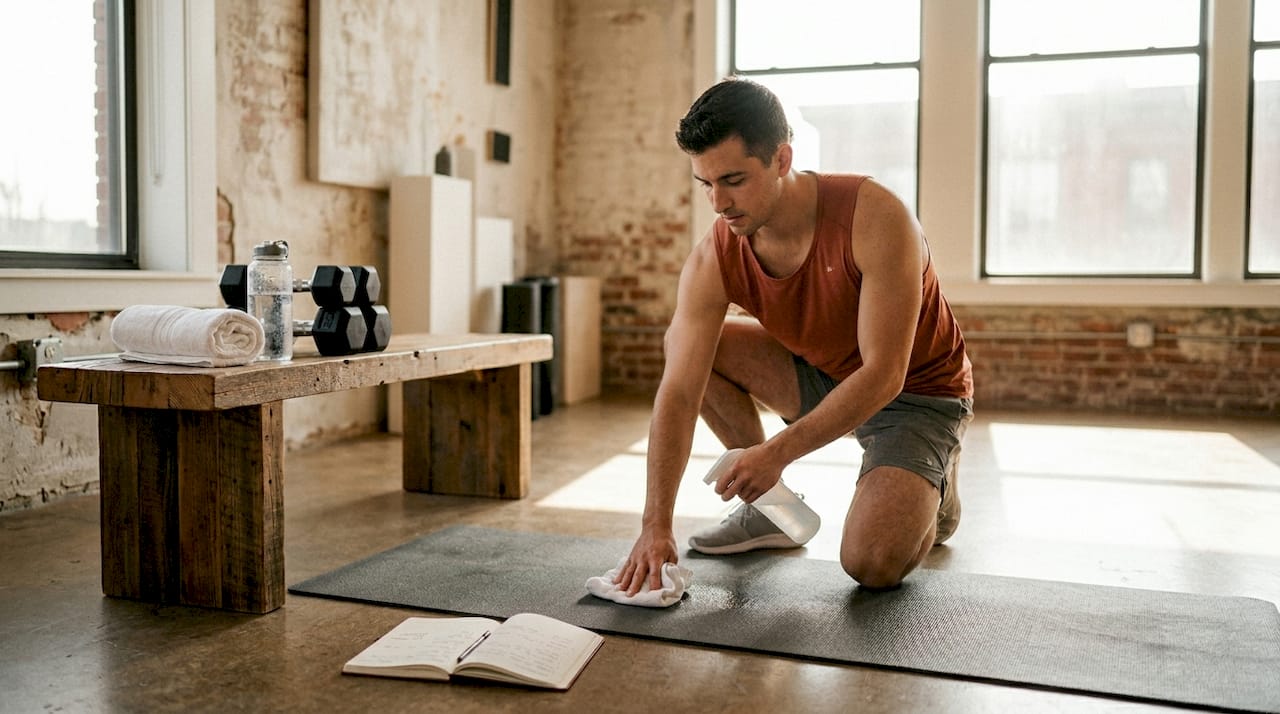
If you have a home gym or workout area you want to photograph, the same principles apply. Clean lines, organized equipment, and natural light make even functional spaces look magazine-worthy.
Smartphone shooting techniques that actually work
You do not need a DSLR to take stunning interior photos. Your smartphone is capable of producing images that look genuinely professional, as long as you understand a few key techniques.
-
Get your camera height right. Shooting at 3 to 4 feet above the floor, roughly belly-button height, makes rooms appear more expansive and grand. Eye-level shots flatten space and shrink rooms visually. Lower your stance intentionally.
-
Tap on the brightest area of your screen before shooting. This one technique transforms your images. Tapping the brightest spot sets your exposure so windows and bright areas do not blow out. You preserve detail in the highlights, and you can always lift the shadows later in editing.
-
Shoot multiple angles of every room. Capture a wide shot from the doorway, a medium shot that highlights your focal piece, and one or two detail shots of styling elements. This gives you options and captures the room’s full character.
-
Use a tripod or prop your phone on a stable surface. Consistent camera height and angle across rooms creates a cohesive look that feels intentional on a social feed. A ten-dollar tripod from any general store solves this completely.
-
Avoid ultra-wide mode for most interior shots. Wide angle can be tempting because it fits more into the frame, but it creates distortion at the edges that makes furniture look warped. A standard or slightly wide focal length reads as more natural and flattering.
Pro Tip: Turn on your phone’s grid overlay in the camera settings. Align horizontal lines like windowsills and table edges with the grid to keep your shots level. Crooked verticals are one of the most common and most noticeable issues in interior photography.
Post-shoot editing to polish your images
Shooting well reduces your editing time dramatically. But even great shots benefit from a few thoughtful adjustments.
What to adjust in your editing app
Apps like AfterLight, Lightroom Mobile, or even Instagram’s native editor give you all the tools you need. Focus on these adjustments in order:
- Brightness and exposure: Lift slightly if the room feels dim. Avoid going so bright that textures disappear.
- Contrast: A small increase adds depth and makes colors pop without looking artificial.
- Warmth: Nudge this toward the warm side for a cozy, inviting feel. Cool tones can make a room feel sterile.
- Straighten and skew: Use the geometry tools to correct any lens distortion or wonky verticals. This one step alone makes images look dramatically more polished.
- Selective brightness: Most apps let you brighten specific areas. Use this on dark corners to balance the exposure without washing out the whole image.
Virtual staging: a smarter option for empty or sparse rooms
If your room is empty, recently renovated, or just not styled the way you’d like it to look, virtual staging is worth knowing about. AI-powered virtual staging can furnish and style a room digitally in minutes. The cost difference compared to physical staging is significant. Virtual staging typically ranges from $0.23 to $25 per image, while traditional luxury staging can run $10,000 to $25,000. For homeowners who want to share polished, aspirational shots without a full redesign, it is a practical and affordable tool.
| Option | Cost range | Best for |
|---|---|---|
| Virtual staging (AI) | $0.23 to $25 per image | Empty rooms, before-and-after content |
| Physical staging | $10,000 to $25,000 | Real estate listings, full renovations |
| DIY editing apps | Free to $10/month | Styling adjustments on furnished rooms |
Common pitfalls and how to fix them
Even with the right setup, a few recurring mistakes can undermine otherwise good photos. Here is what to watch for:
- Mixed lighting: Artificial and natural light have different color temperatures. Combining them creates orange or green tints that no filter fully fixes. Shoot in daylight only.
- Shooting from the wrong height: Too high and the room looks small and cramped. Too low and furniture looks distorted. Stay at the 3 to 4 foot range consistently.
- Background clutter: Your eye adjusts to clutter in real life. The camera does not. Walk back and look at your planned shot through the screen before you shoot, scanning every corner.
- Inconsistent tones across posts: If one photo is warm and the next is cool, your feed looks disjointed. Choose one editing preset or style and apply it consistently. Consistent angles and lighting are what separate amateur feeds from professional-looking ones.
- Shooting everything separately: Batch your sessions. Capturing 8 to 10 photos in a single well-lit session with the same settings produces a visually cohesive set that strengthens your brand across social media.
Pro Tip: Before editing, create a simple one-sentence style guide for your feed. Something like “warm tones, soft shadows, minimal decor.” This gives you a filter to run every editing decision through and keeps your content consistent without overthinking it.
If you are photographing a home gym setup, organized storage makes the difference between inspiring and chaotic. A well-designed storage system gives your equipment a place and your photos a clean backdrop.
Sharing your photos for maximum impact
Taking great shots is only part of the equation. How you present and share them shapes how your audience responds.
- Lead with your strongest image. The first photo in a carousel is your hook. Make it the shot with the most visual impact, whether that is a beautifully lit living room corner or a perfectly styled bookshelf.
- Use before-and-after content. This format consistently performs well because it shows transformation. Even small styling changes make for compelling comparisons.
- Write captions that tell a story. Share what inspired the styling choice, where a piece came from, or how the space functions day to day. People connect with intention and honesty more than perfection.
- Post carousels over single images when you can. Instagram’s algorithm favors formats that keep people swiping. A carousel of six well-edited room shots gives viewers a reason to stay.
- Maintain a consistent color palette across your feed. Prioritizing real, high-quality materials in your actual decor makes your photos feel authentic and visually cohesive without needing heavy editing.
My honest take on styling for the camera
I’ve seen a lot of homes styled purely for social media, and the truth is that the best-performing content almost never comes from spaces that look like a showroom. What resonates with people online is authenticity layered with intention.
What I’ve found is that the spaces people bookmark and share are the ones that look beautiful and functional. The coffee table that has a real book on it, not just a styled prop. The living room that has actual cushions people sit against, not a symmetrical arrangement no one would ever touch. When you try to make a space look perfect, you often strip out the very details that make it feel personal and real.
My take is this: style for your life first, then adjust for the camera. Move a candle, remove one item that feels too personal, open the blinds. Small changes. The camera picks up authenticity in a way that is hard to fake, and audiences feel the difference even if they can not name it.
I’ve also learned that consistency matters far more than any single viral shot. A feed that looks cohesive and intentional over thirty posts builds far more trust and engagement than one perfect image surrounded by inconsistency. Commit to a lighting style, a color temperature, a general composition approach. Then show up for it regularly. That is what builds a genuine following around your space.
— Brian Dunn, Couch & Dumbbells
Transform your home into a photo-ready space
Great photos start with great spaces, and Couchanddumbells makes it easier to build an interior that looks and feels as good as it photographs. The curated home and interior collection brings together furniture, decor, and storage solutions chosen for both everyday functionality and visual appeal. Whether you are refreshing a living room, styling a reading nook, or taking your outdoor space to the next level with the outdoor patio sofa, every piece is chosen with quality and aesthetics in mind. Beautiful living spaces and beautiful photos go hand in hand.
FAQ
What is the best time of day for interior photos?
Mid-morning light is typically the most flattering for interior photography, offering soft, warm daylight without the harshness of midday sun. Golden hour before sunset also works well for cozy, warm-toned images.
Do I need a professional camera to capture share-worthy room decor?
No. A modern smartphone with the right technique, especially correct camera height and proper exposure management, produces results that are fully suitable for social media. A basic tripod helps significantly.
How do I fix dark or shadowy interior photos?
Use a mobile editing app to selectively brighten shadows without overexposing the full image. Shooting with your camera tapped on the brightest area first gives you more usable shadow detail to work with in post-processing.
What is virtual staging and is it worth using?
Virtual staging uses AI to digitally furnish and style empty or sparse rooms. At a cost of roughly $0.23 to $25 per image, it is a practical option for homeowners who want polished, aspirational photos without a full physical redesign.
How do I keep my social media feed looking consistent?
Choose one editing style and apply it to every photo. Keep your camera height, color temperature, and composition approach consistent across all sessions. Batch shooting multiple rooms in one sitting with the same lighting setup makes this much easier to maintain.