
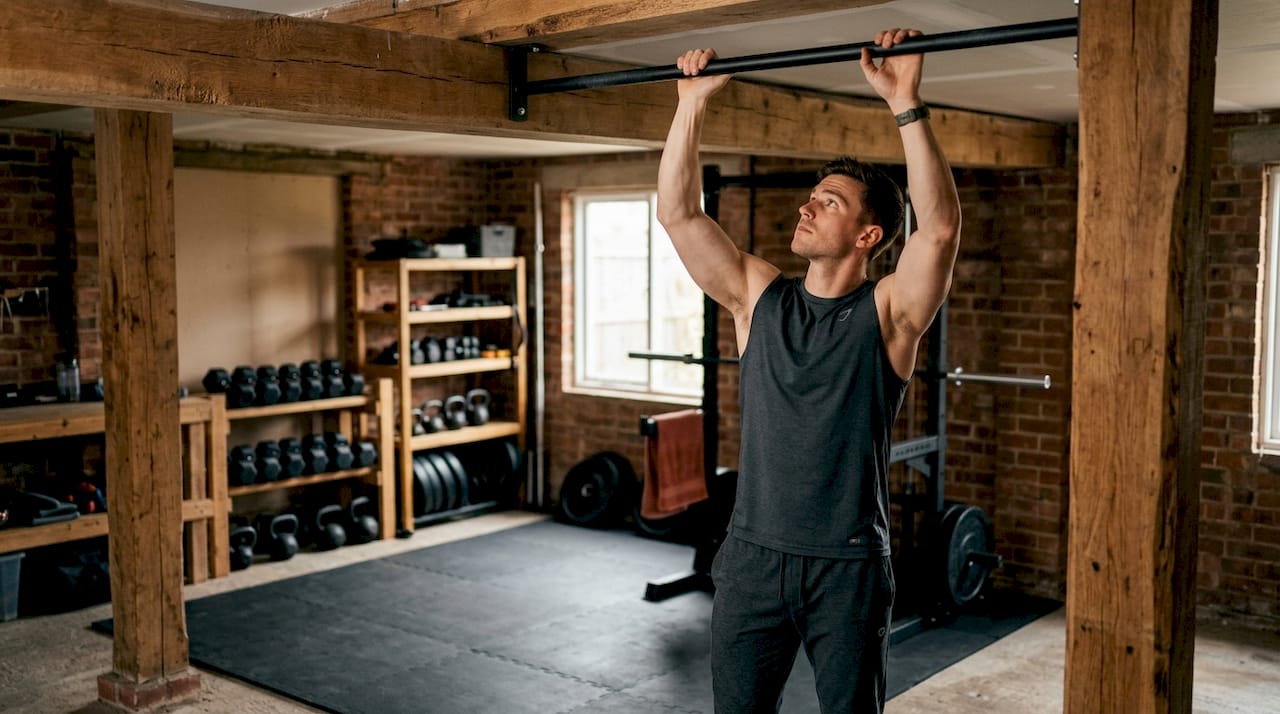
A resistance training home space is a dedicated area designed to support strength workouts using free weights, bands, or bodyweight exercises. You do not need a large room or a big budget to build one that works. A functional setup can fit in as little as 35 square feet with adjustable dumbbells, resistance bands, and a foldable bench. That means a spare corner, a garage wall, or even a cleared section of your bedroom qualifies. The American College of Sports Medicine (ACSM) and exercise physiologists consistently point to dedicated training environments as a key factor in workout consistency and long-term results.
What space factors should you assess before you set up a resistance training home space?
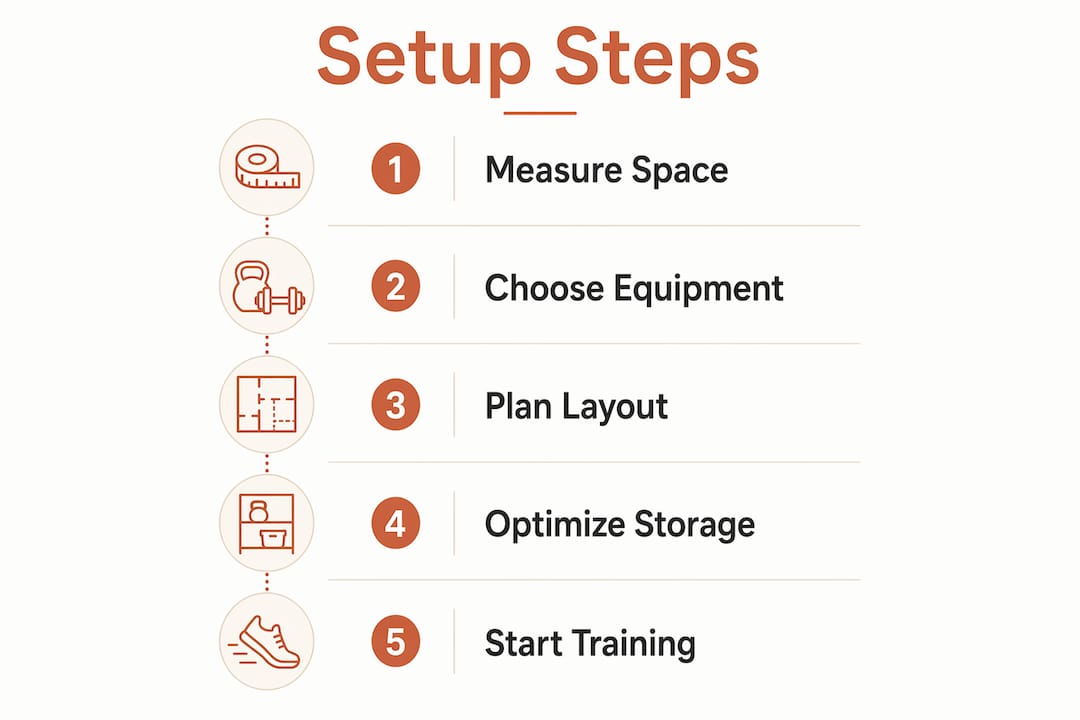
Space planning is the single most important step before you buy any equipment. Getting this wrong costs money and time. Experts recommend starting with a full space assessment that measures every dimension accurately with a tape measure, including ceiling height, floor area, and doorway widths.
Ceiling height and floor area
Ceiling height determines what exercises you can safely perform. A minimum of 8 feet is required for most lifts, and 9 feet is preferred if you plan to do overhead presses or pull-ups. A 7x5 foot area supports push-ups, dumbbell rows, squats, and mat work. A 10x10 foot space opens the door to a power rack and dedicated storage.
Doorways, flooring, and noise
Doorway width is the most overlooked constraint in home gym planning. Measure every doorway before purchasing large mats, benches, or machines to avoid costly returns. Floor type matters too. Concrete handles heavy loads well. Hardwood and tile need rubber flooring protection to prevent damage and reduce joint stress.
Noise is a real concern in apartments and shared homes. Structure-borne noise travels through floors even when rubber mats are in place. Thick rubber tiles or interlocking foam mats reduce impact sound. Resistance bands and adjustable dumbbells produce far less noise than barbell drops, making them ideal for shared living environments.
Key environmental factors to address before setup:
- Lighting: Bright, even lighting reduces injury risk and keeps you alert during workouts.
- Ventilation: A fan or open window prevents overheating and keeps air fresh during intense sessions.
- Climate control: Extreme heat or cold affects both performance and equipment longevity.
- Electrical access: You may need outlets for fans, speakers, or fitness devices.
Pro Tip: Use painter’s tape on the floor to outline your planned equipment footprint before buying anything. This gives you a real sense of how much space each piece takes up during use, not just when stored.
What equipment is essential for an effective home resistance training setup?
The best home gym equipment covers multiple muscle groups, fits your space, and grows with your training. You do not need everything at once. A focused starter kit outperforms a cluttered room of underused machines every time.
Core equipment for a beginner to intermediate setup:
- Adjustable dumbbells: Replace an entire rack of fixed weights. They save floor space and scale with your strength.
- Resistance bands: A 2023 Sports Medicine review found that bands produce strength gains comparable to conventional resistance training when effort and progression are matched. They are also the most portable and affordable option available.
- Foldable bench: Adds pressing, rowing, and step-up variations without permanent floor space.
- Doorway pull-up bar: Installs in seconds and covers back, bicep, and core work with no floor footprint.
For more advanced setups, an Olympic barbell and a 300 lb plate set expand your exercise options significantly. A foundational setup including a power rack, adjustable bench, and Olympic barbell costs around $1,200 and typically pays for itself within two years compared to a gym membership. A starter band and dumbbell kit, by contrast, can be built for under $500 and covers the major muscle groups effectively for beginners.
| Equipment category | Estimated cost | Space required | Exercise versatility |
|---|---|---|---|
| Resistance bands | $20–$80 | Minimal | High (full body) |
| Adjustable dumbbells | $150–$400 | Low | High (full body) |
| Foldable bench | $80–$200 | Low when folded | Medium |
| Doorway pull-up bar | $25–$60 | None (stored) | Medium |
| Power rack + barbell set | $600–$1,200 | High (10x10 ft) | Very high |
Pro Tip: Start with resistance bands and one set of adjustable dumbbells. After 90 days of consistent training, you will know exactly which movements you repeat most. Buy your next piece of equipment based on that data, not on what looks good in a catalog.
You can also browse portable resistance gear at Couchanddumbells to find space-saving options that fit both small rooms and active lifestyles.
How do you optimize layout and storage for a safe, functional workout area?
The success of a home gym is 30% training and 70% planning. Layout determines whether your space feels like a gym or a storage room. The goal is clear movement zones with no obstacles between exercises.
Position your heaviest and most fixed equipment, like a power rack or bench, against a wall or in a corner. This frees the center of the room for floor work, squats, and band exercises. Place dumbbells and bands near the wall on a rack or hook system so they are accessible but not in your path.
Storage tips that protect both your space and your equipment:
- Vertical shelving: Keeps bands, straps, and accessories off the floor and within reach.
- Wall-mounted hooks: Ideal for resistance bands, jump ropes, and foam rollers.
- Foldable equipment: A foldable bench or squat stand reclaims floor space after each session.
- Labeled bins: Store small items like clips, chalk, and gloves in clearly labeled containers.
A mirror on one wall serves two purposes. It makes the room feel larger and lets you check your form during lifts, which reduces injury risk. Safety clearance matters as much as storage. Leave at least 3 feet of open space around any barbell or power rack for safe loading and unloading.
Pro Tip: Place your most-used equipment closest to the room entrance. You are more likely to train when your setup requires zero rearranging to get started.
For ideas on making your gym space look as good as it functions, the aesthetically pleasing home gym guide at Couchanddumbells offers practical design inspiration.
What mistakes should you avoid when building your home training area?
The most common home gym mistakes are avoidable with a little patience and a clear plan. Impulse buying is the biggest one. Buying equipment before measuring your space leads to returns, wasted money, and frustration.
- Skip the tape measure and pay for it. Measure ceiling height, floor area, and every doorway before purchasing anything. Doorway width causes more purchasing errors than any other physical constraint.
- Buy everything at once. A crowded room full of equipment you rarely use is not a gym. It is a storage problem.
- Ignore noise until it becomes a complaint. If you live in an apartment or share walls, address flooring and equipment choices before your first session, not after.
- Never reassess your setup. Your training needs change. A setup that worked at month one may limit you at month six.
- Skip equipment maintenance. Wipe down bands and handles after each session. Check bolts on racks and benches monthly. Clean equipment lasts years longer.
“Starting with essential equipment and gradually expanding based on training data prevents wasted investment. Three to six months of consistent training helps identify real equipment needs.” — Complete Home Gym Setup Guide
The “build as you train” philosophy works because your body tells you what it needs. A squat rack means nothing if you are still mastering bodyweight squats. Buy the next piece of equipment when your current setup genuinely limits your progress.
Key Takeaways
Setting up a resistance training home space succeeds when you measure first, buy intentionally, and arrange equipment for movement flow and safety.
| Point | Details |
|---|---|
| Measure before you buy | Check ceiling height, floor area, and doorway widths before purchasing any equipment. |
| Start with versatile gear | Adjustable dumbbells, resistance bands, and a foldable bench cover full-body training in minimal space. |
| Plan your layout | Position fixed equipment against walls and keep the center clear for movement zones. |
| Build as you train | Wait 3–6 months before expanding your setup to identify real training needs. |
| Address noise early | Use rubber flooring and low-impact equipment if you share walls or floors with others. |
What I have learned from building my own training space at home
The first time I set up a home gym, I bought a barbell before measuring my ceiling. It was 7.5 feet high. The barbell stayed in the corner for three months before I admitted the mistake and sold it. That one error cost me more than the bar itself in time and frustration.
What I know now is that the best resistance training spaces are not the biggest or the most expensive. They are the most intentional. A 7x5 foot area with a quality set of adjustable dumbbells and a few resistance bands has produced more consistent results for me than any cluttered garage setup I have seen. The psychological effect of a clean, dedicated space is real. When your workout area is clear and ready, you train. When it is buried under boxes and gear you never use, you find reasons not to.
The “build as you train” approach changed how I think about equipment entirely. I waited 90 days before adding anything to my starter setup. By then, I knew exactly which movements I was repeating and which gaps I needed to fill. That patience saved me hundreds of dollars and kept my space functional rather than overwhelming.
My honest advice: treat your home training area like you would any room in your home. Give it intention, keep it clean, and let it grow with you. A space you enjoy being in is a space you will return to.
— Brian Dunn, Couch & Dumbbells
Your next step toward a well-equipped home training space
Couchanddumbells brings together fitness gear and home interior pieces that work together, not against each other. Whether you are outfitting a small corner or a dedicated room, the right equipment makes the difference between a space you use and one you ignore.
The fitness and gear collection at Couchanddumbells includes resistance equipment, storage-friendly accessories, and performance apparel designed for real home workouts. You will also find home and interior pieces that help your training area blend with the rest of your living space. From a fitness smartwatch that tracks your progress to men’s fitness pants built for full range of motion, every item is chosen to support a lifestyle that values both comfort and performance.
FAQ
How much space do I need for a home resistance training area?
A 35 square foot area supports a full starter setup with adjustable dumbbells, bands, and a foldable bench. A 10x10 foot space is ideal if you plan to add a power rack.
What is the minimum ceiling height for a home gym?
8 feet is the minimum ceiling height for most resistance training exercises. Overhead presses and pull-up bars require at least 9 feet for safe clearance.
Are resistance bands effective for strength training at home?
Yes. A 2023 Sports Medicine review confirmed that resistance bands build strength comparable to conventional training when effort and progression are consistent.
How do I reduce noise in an apartment home gym?
Use thick rubber tiles or interlocking foam mats to absorb impact. Choose resistance bands and adjustable dumbbells over barbells to minimize structure-borne noise that travels through floors.
When should I expand my home gym equipment?
Wait 3–6 months of consistent training before adding new equipment. That window gives you real data on which movements you repeat most and where your current setup genuinely limits your progress.